If you're looking for great, free graphic design software, try GIMP (the GNU Image Manipulation Program). I've been using it for a couple years and love it. Any new software can be confusing at first, though. Basic tutorials will help familiarize you with the tools offered. I'm planning on doing a series of simple tutorials here, aimed at the first-time user. I'm gearing them toward writers because so many self-published writers make their own book covers now, but I hope they'll be useful for anyone. If you still need help or want to learn more advanced functions - from much more expert users - there are plenty of communities out there. Here are a couple good ones: Gimptalk / Gimpusers . And the GimpForums.
Lesson One: Making Basic Text and Learning to Add a Drop Shadow
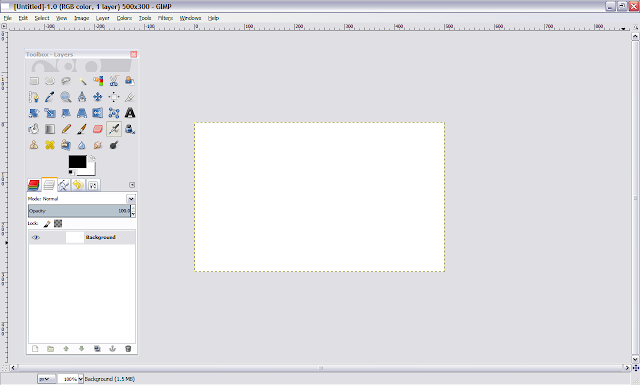
1. Download GIMP, install it and open it. Click on File - New and set it to the dimensions you want. For this tutorial, I chose 500 x 300 pixels at 200 ppi. (If you're making a Kindle book cover, check the specifications there before you start your design). I left all the other settings the same and ended up with this:
2. Next, click on "Layer: New Layer." Name this layer "Text" and select "Transparency." Layers make your design much easier to work with. Now, your text will be kept separate from your background so you can manipulate each separately.
3. In the Toolbox, you'll see a giant "A." That's the text tool. Select it. Using your mouse, draw a large text box on your image. Click inside it. Now pick a font and size and type your text in the box. Using the Toolbox, you can adjust your text to make it centered, change the letter spacing, etc. Just click on the big "A" again to view all the options. I chose these settings: Bookman Old Style Semi-Bold font, size 50, justify: centered. I left everything else alone, but don't be afraid to play around.
Here it is so far:
4. Once the text is exactly how you want it, it's time to anchor it on the "text" layer we made. To do this, click "Layer" in the top menu and "Merge Down."
5. Now we add the drop shadow. Click "Filters" in the top menu, then "Light and Shadow: Drop Shadow."
6. You'll need to manipulate the options here to get the exact effect you want. Uncheck "Allow resizing" if you need to keep your image dimensions the same. Increase your opacity for a darker shadow. Increase the offsets for a longer shadow. Play around and see what you like best. If you don't like the effect, you can always undo it two ways. One, click "Edit: Undo" (ctrl + Z shortcut). Two, simply delete the drop shadow layer. To do that, right click on its layer and select "Delete Layer."
7. Once you have it exactly how you want it, you can save it to GIMP (.xcf). That will keep all the layers separate and is useful if you plan to return and work on it later. Or, you can merge all your layers into one and export them to the format you need. I tend to do both. That way, in case I need to change something later, I have the .xcf file. Then for Kindle, I exported as .jpeg because of the Amazon guidelines. But I usually export to .PNG because of the higher quality and because it's what sites like Zazzle recommend for the graphics printed there.
Here's my final image. I used both offsets on 5, blur radius 15, color black, opacity 60 and unchecked "allow resizing."
Now that you know how to make a basic drop shadow, your text looks cooler already. Next week, I'll show you how to add color gradients to your text.
-MK
on Zazzle
on Kindle


No comments:
Post a Comment
Thanks for contacting MK Hess Creative.